Creative activity:
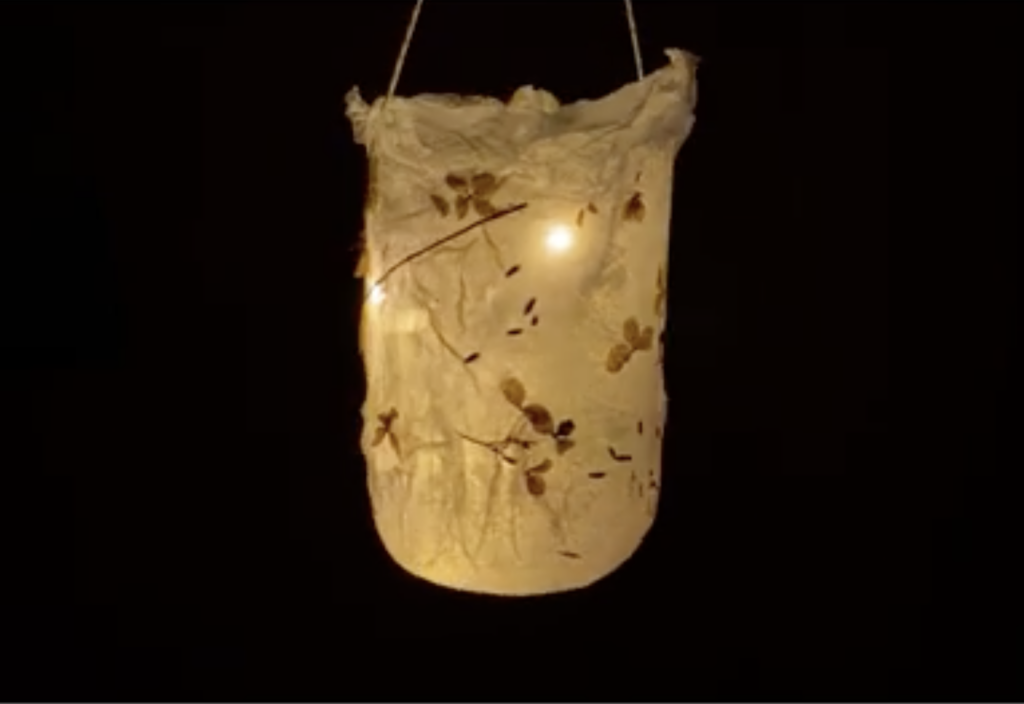
Letting in the Light
Winter’s first creative activity is lantern-making, an age-old artform that started in China.
Historically, paper lanterns have been used for both practical and decorative functions.
Make your own lantern and become the bearer of light. It might help you embrace the beauty of this season’s darkness!
Process: Papier-mâché
Papier-mâché is an inexpensive and creative way to recycle paper to make new works of art. Like the lantern, papier-mâché has its roots in China.
The process involves tearing old paper into small pieces, mashing it into a pulp and mixing it with water and a binding agent (for this activity, PVA glue). The wet mixture is then applied to a mould and left to dry, hardening into a strong but lightweight object.
Once complete, you can decorate it with a variety of art materials, including paint and pens. For this activity, you’ll use seasonal natural materials to create a unique lantern design.
What you'll need
- White or light-coloured tissue-paper (loo paper also works surprisingly well!)
- Clingfilm
- Glass jar
- PVA glue
- Pot or jar to put the glue in
- Paintbrush
- Selection of leaves, flowers or seedheads, dried flat in advance if you can (you can do this by weighing them down inside a big book)
- Scissors
- String, cord or wire
- Battery-operated tealight or small set of fairy light
- A plastic tablecloth (to protect the surface you’re working on)
Take care
-
- Do not use a real candle in this lantern as it may catch fire
- Wash your hands after collecting natural materials
- Wash your brush and glue pot after use
What you'll do
- Bring all your materials together and lay down your tablecloth.
2. Cover your glass jar loosely in clingfilm, around the sides and bottom, and turn it over so the opening of the jar stands on the table.
3. Fill your glue pot a third of the way PVA and a little water. Stir with your paintbrush.
4. Cover the clingfilm-covered jar in the PVA-water mix.
5. Immediately start sticking on torn pieces of the tissue paper, layer-by-layer, adding around three layers and glue between each until the whole jar is covered – it’s messy but fun! Don’t worry if you tear the paper, you can always add a bit more.
6. Now glue on your decorations – your leaves, seedheads and/or pressed flowers, and then cover these in glue as well.
7. Leave to dry overnight.
8. Carefully slide the dry lantern off the glass jar and remove the clingfilm (this can be reused another time).
9. Make two holes opposite each other at the top of your lantern.
10. Tie in a string or piece of wire, which will act as both a handle and hook.
11. Add the battery-operated tealight or fairy lights and watch your lantern light up the dark!
You could also try…
Try adding extra decoration to your lantern by carefully punching small holes with a needle to create light patterns. You can also stitch designs onto the surface using coloured threads. Just be sure to handle the needle with care.
Video guide
Watch a step-by-step video guide of the ‘Letting in the Light’ activity.